GoPiGo it’s alive!
Months ago I backed the kickstarter project GoPiGo and last week the package finally arrived. On www.dexterindustries.com there is a 10 minute video showing the assembly of the little robot.
While assembling I got some good and some bad surprises. Anyway at the end everything worked so far and he robot is up and running!
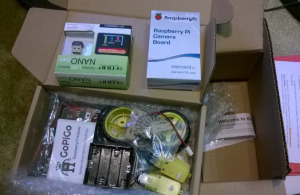
Let’s start with the good surprises. Originally the pack should contain a Raspberry Pi this is still the case but I was surprised I even got the newest model Raspberry Pi B+ in the box.
Unfortunately the video matched not 100% anymore however good enough to build it up with some try and error. So this is what I struggled with:
You start with attaching the parts that should hold the motor. If you put in the first motor and later try to add the screw for the second motor – it’s hard to impossible to do so. At the end I first added all screws and put in the motors last. A bit fiddly but its working without destroying have of the plastic.
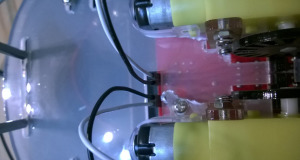
Speaking of motors the cables have different colors then in the video. From left to right its, white, black, black, white – so white on the outside. If you connect them differently they you might get a surprise when driving the first time.
.
The battery pack looks like a bit higher in the video. So you unscrew the top bar, put in the box and put the screws in again. Well if power is empty you need to do it all over again. My batteries are still charging, so I used this one here:
Nokia DC-16CY tragbares USB-Ladegerät blau
I am sure it works with other power banks too but that one is very light. I have no idea how long the power runs but I am working with it now at least 1,5 hours already.
The next troubles I had was with the wireless configuration. Cable worked fine and the wireless dongle was recognized immediately however it did not get an IP adress. After a while of reading on general Raspberry Pi pages I finally figured it out and changed the config a bit differently to what was suggested in the etc/network/interfaces
Where it says „iface wlan0 inet manual“ I wrote „iface wlan0 inete dhcp“ – easy but without Linux knowledge not so easy anymore. Also I added an „auto wlan0“ before the „allow-hotplug wlan0“. That made it work.
Last one for the VNC connection. Also this one very easy but as a non VNC user, well you know. Do not enter just the IP-Adress of your Pi but also add a :1 at the end for „first server“ otherwise you will get an error message (e.g. 222.111.2.123:1).
As soon as I have added the camera and done something meaningful with the servo – I’ll do another post.
